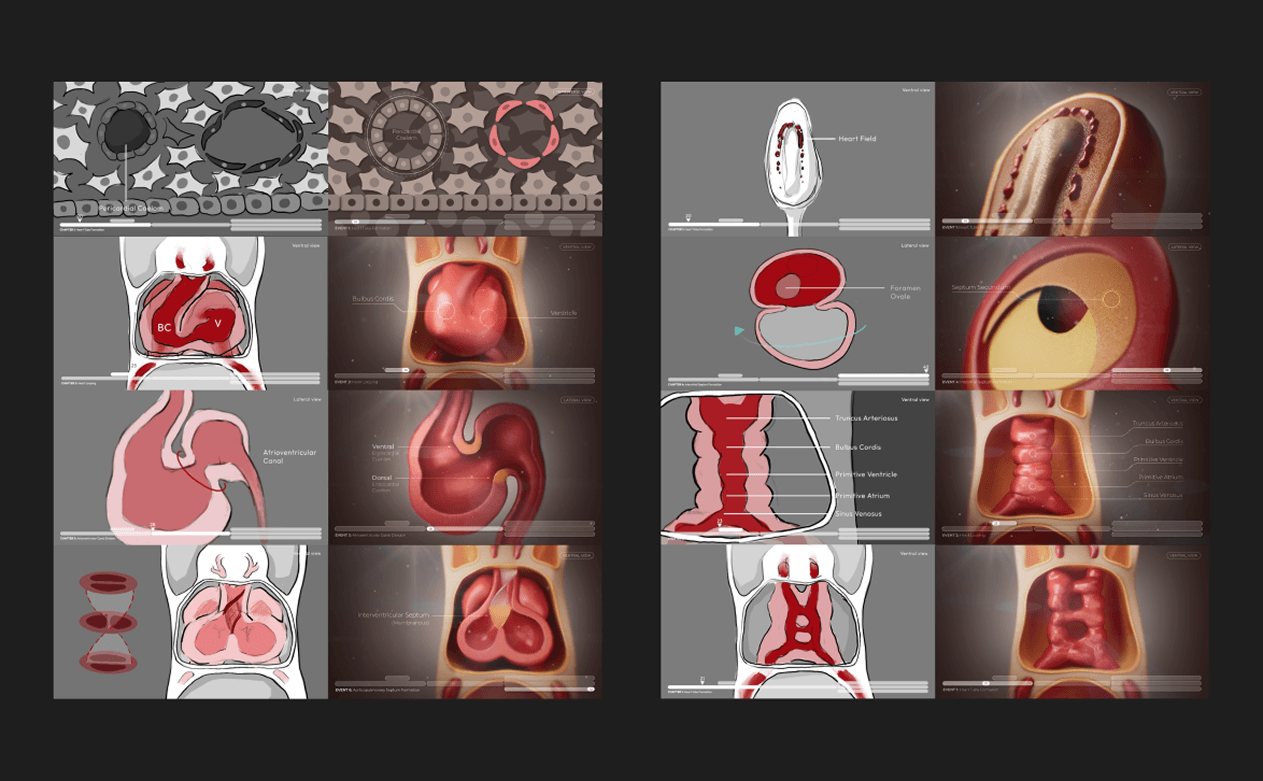
For my Master’s Research Project, I created a mixed 2D/3D-animation detailing key events in early cardiac development, intended for use by undergraduate and medical students in a university-level embryology course. This project was conducted in collaboration with Dr. Bentley, Associate Professor and Program Director of the Master of Medical Foundations Program at the University of Guelph, and her lab, ATLAS Research Lab.
As an educator involved in the instruction of embryology and gross anatomy, Dr. Bentley has noted the difficulties students often encounter when studying embryological concepts; cardiac development in particular poses a challenge to learners because they must consolidate multiple spatial orientations and cross-sections at once.
Currently, Dr. Bentley and other embryology instructors mainly rely on static, 2D images to teach embryological heart development, which fail to capture the dynamic and 3D nature of the developmental process. While a small number of 3D animations exist to teach this concept and are presently used in Dr. Bentley’s courses, a needs assessment performed amongst previous embryology students found that these animations were inadequate in teaching cardiac heart development. For instance, one key area of growth that was mentioned repeatedly was how the animations managed time; namely, temporal descriptions were often vague and inprecise, triggering confusion among students.
All models used in the animation were sculpted from scratch in Maya and ZBrush. Having already been experienced with ZBrush for digital sculpting, I wanted to see how Maya’s native sculpting tools stacked up in terms of ease-of-use and tool effectiveness.
Full animation is coming soon! But for now, here are some stills from the project:
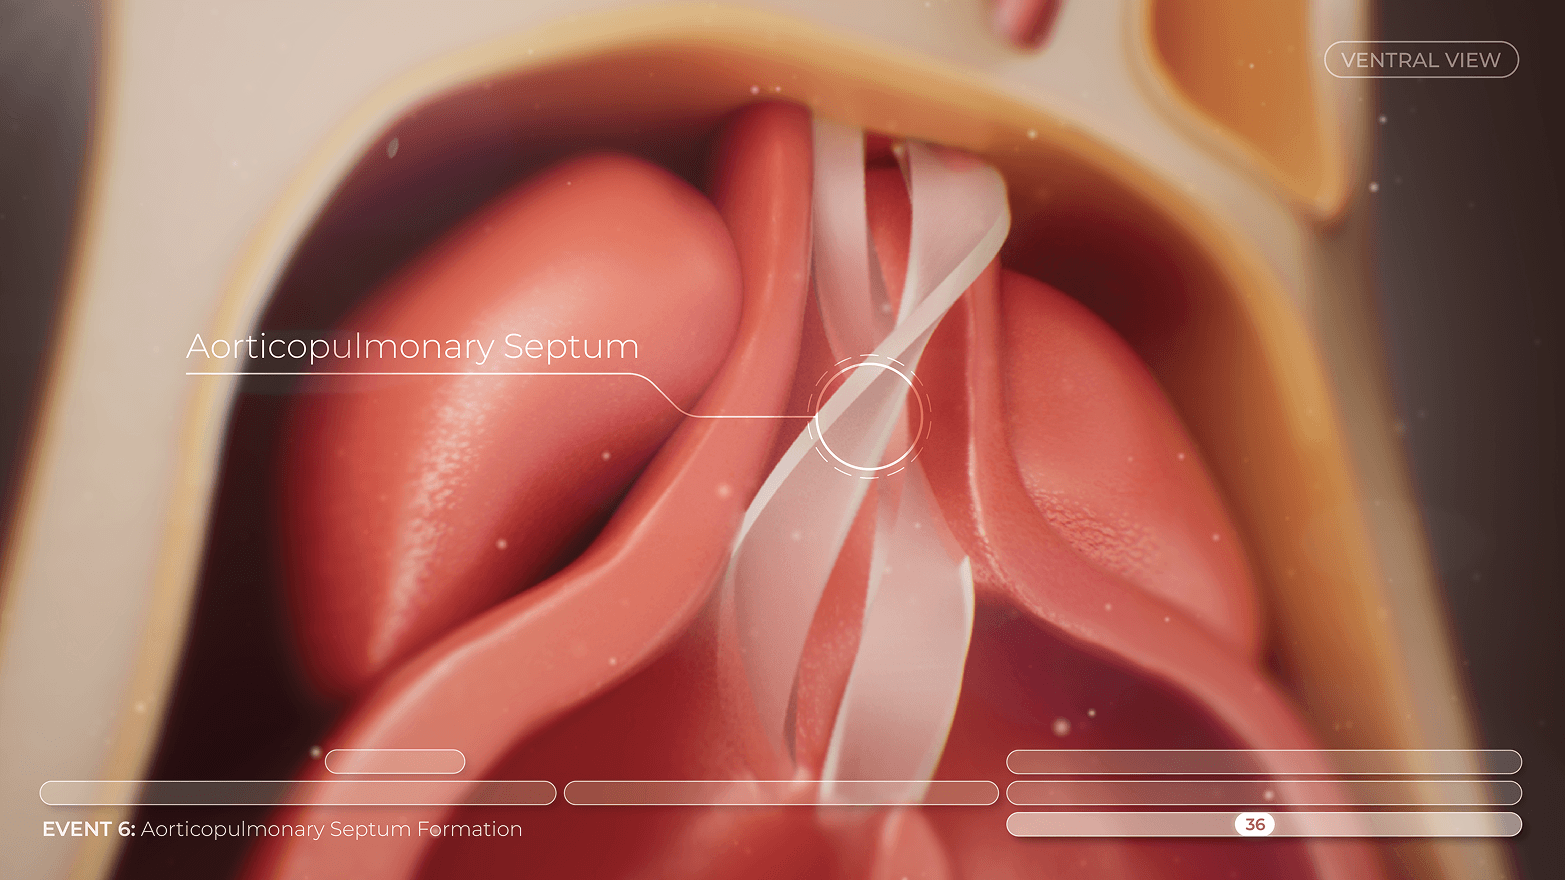
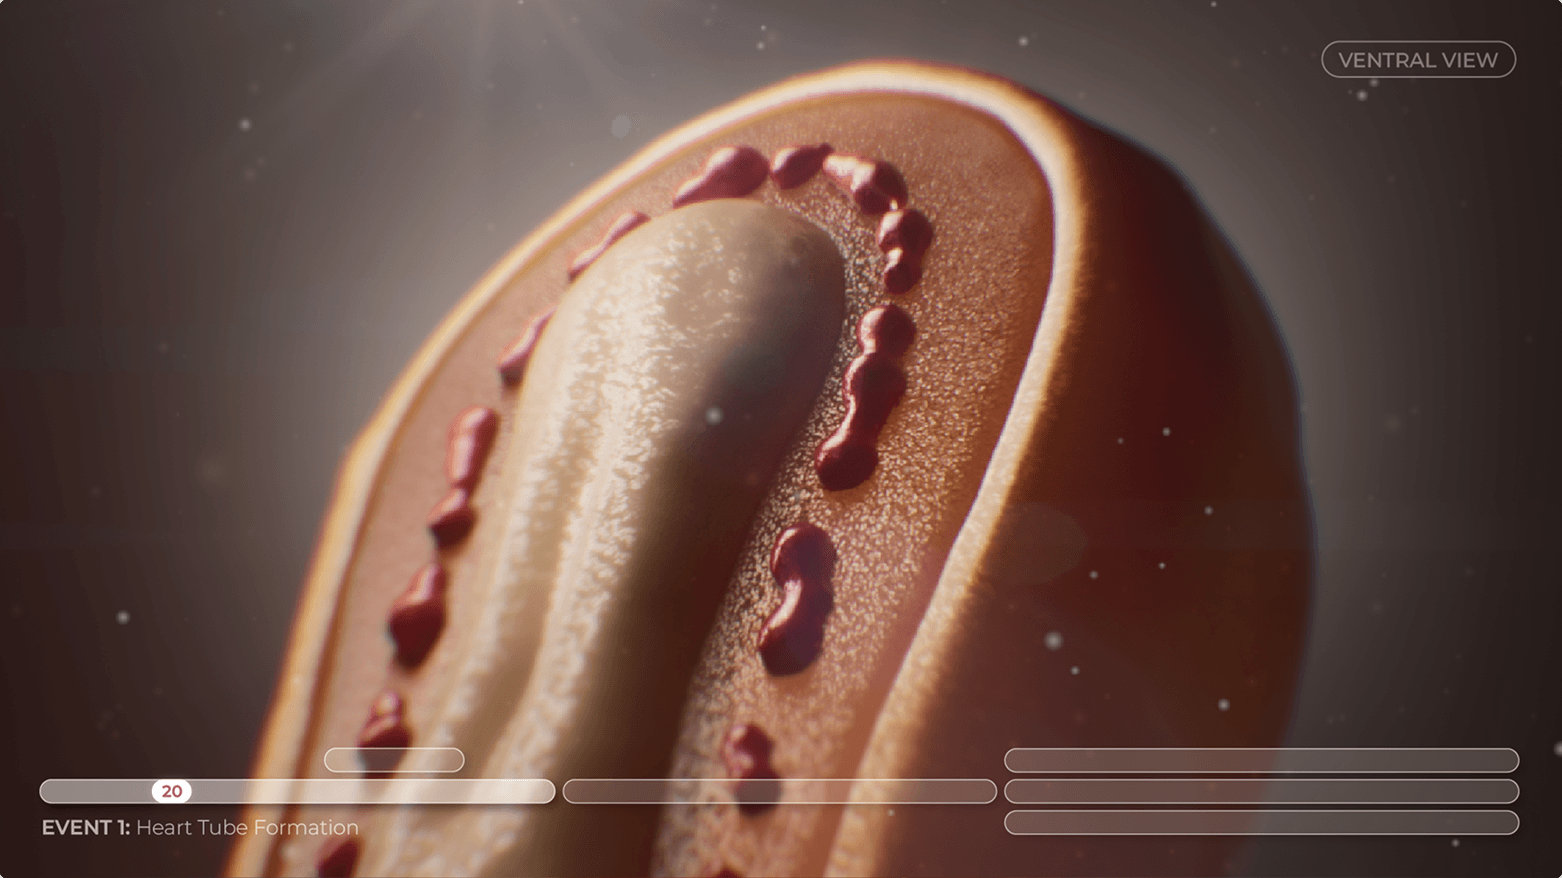
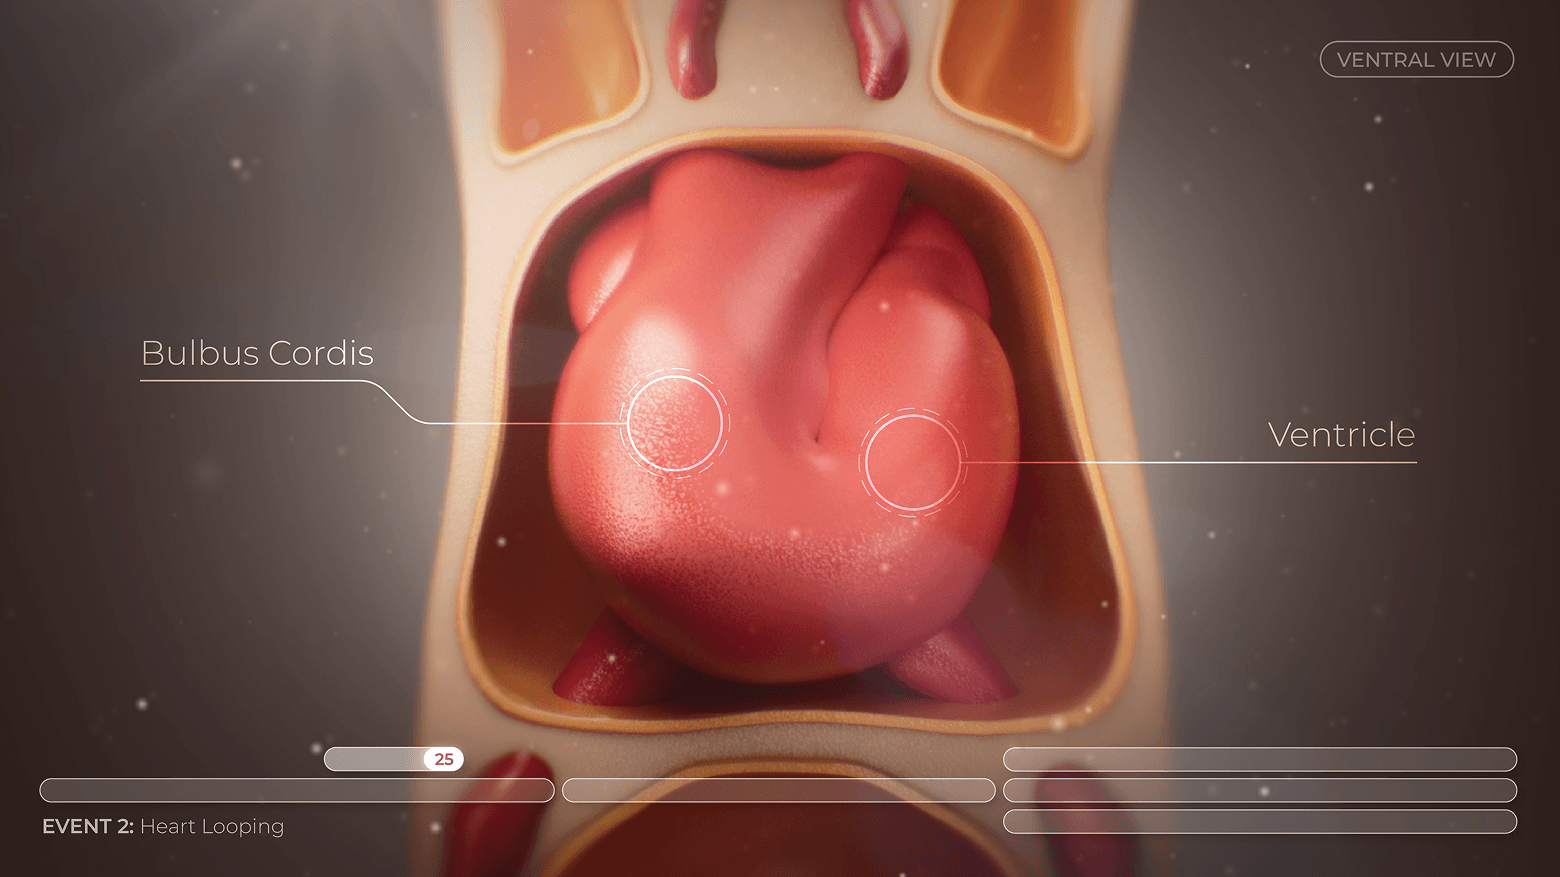
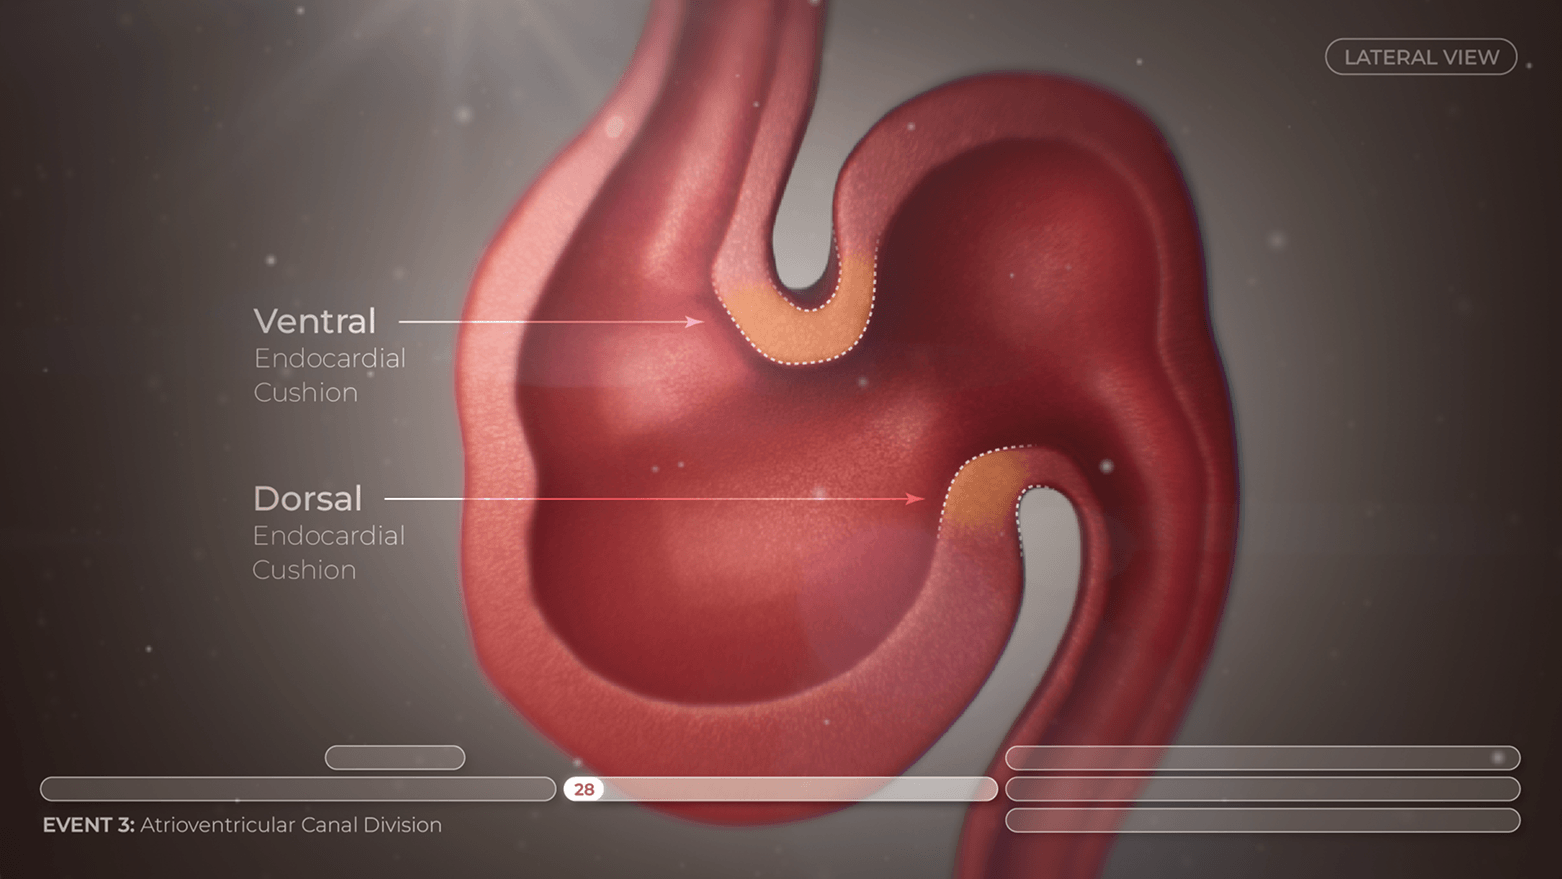
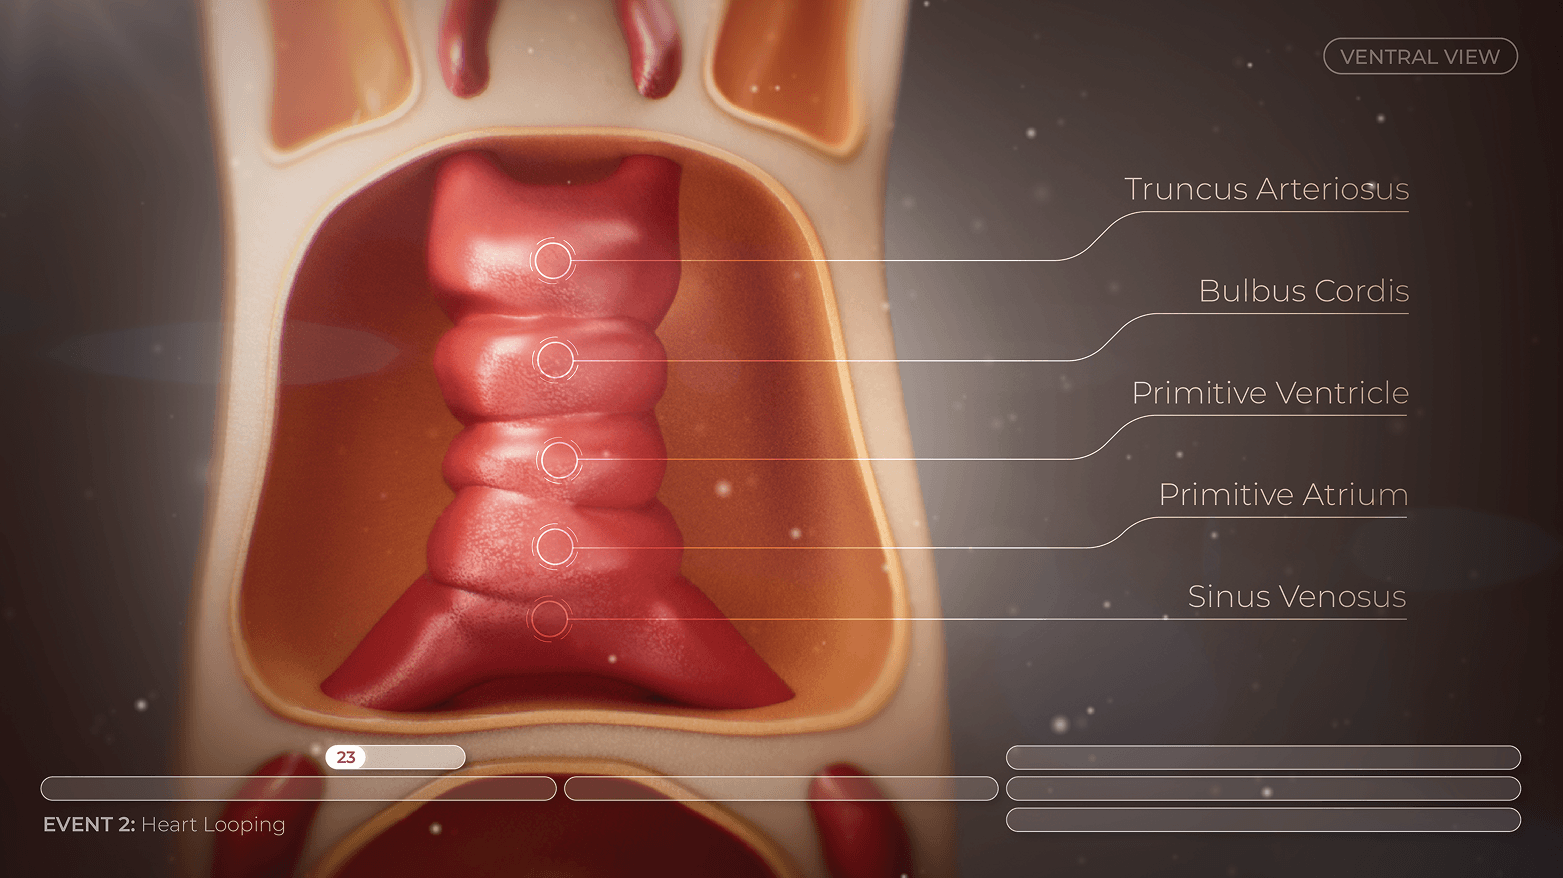
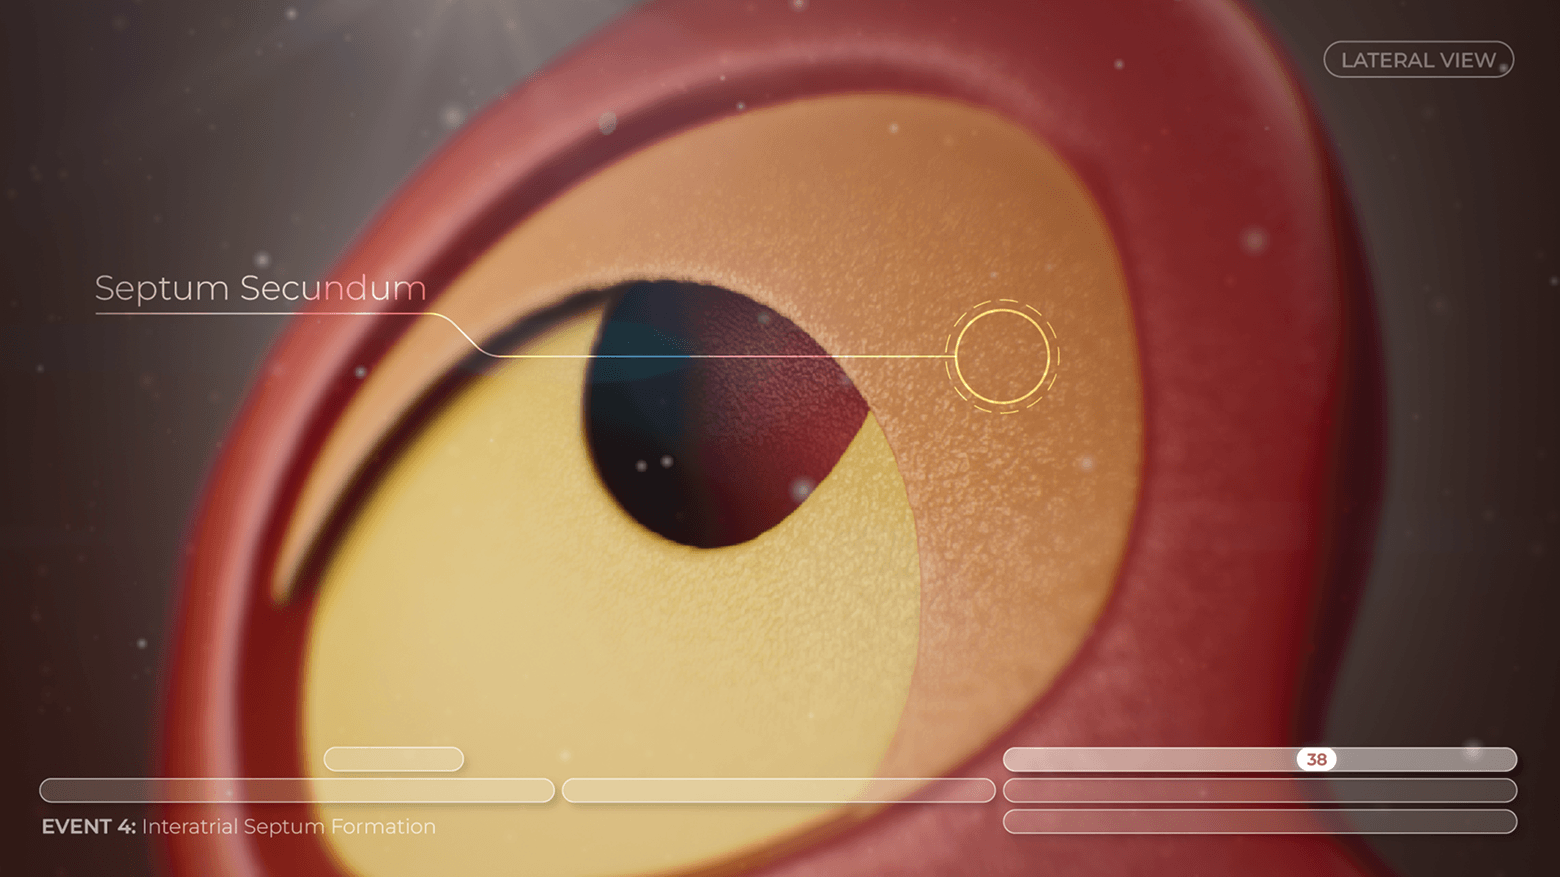
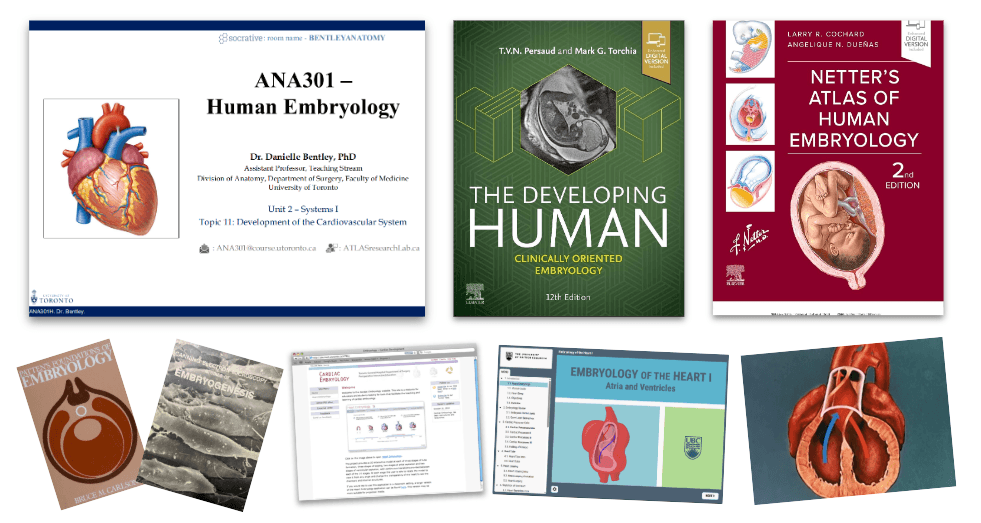
The project began with extensive research into the subject matter of cardiac development, a topic on which I had close to no prior knowledge. I mainly used Dr. Bentley’s lecture slides, The Developing Human: Clinically Oriented Embryology by Persaud and Torchia, and Netter’s Atlas of Human Embryology by Cochard and Duenas as references, along with other atlases and online modules/resources. Learning the material for the first time helped me put myself in the students’ shoes, providing me with valuable first-hand experience of the challenges faced by learners of embryology and cardiac development.
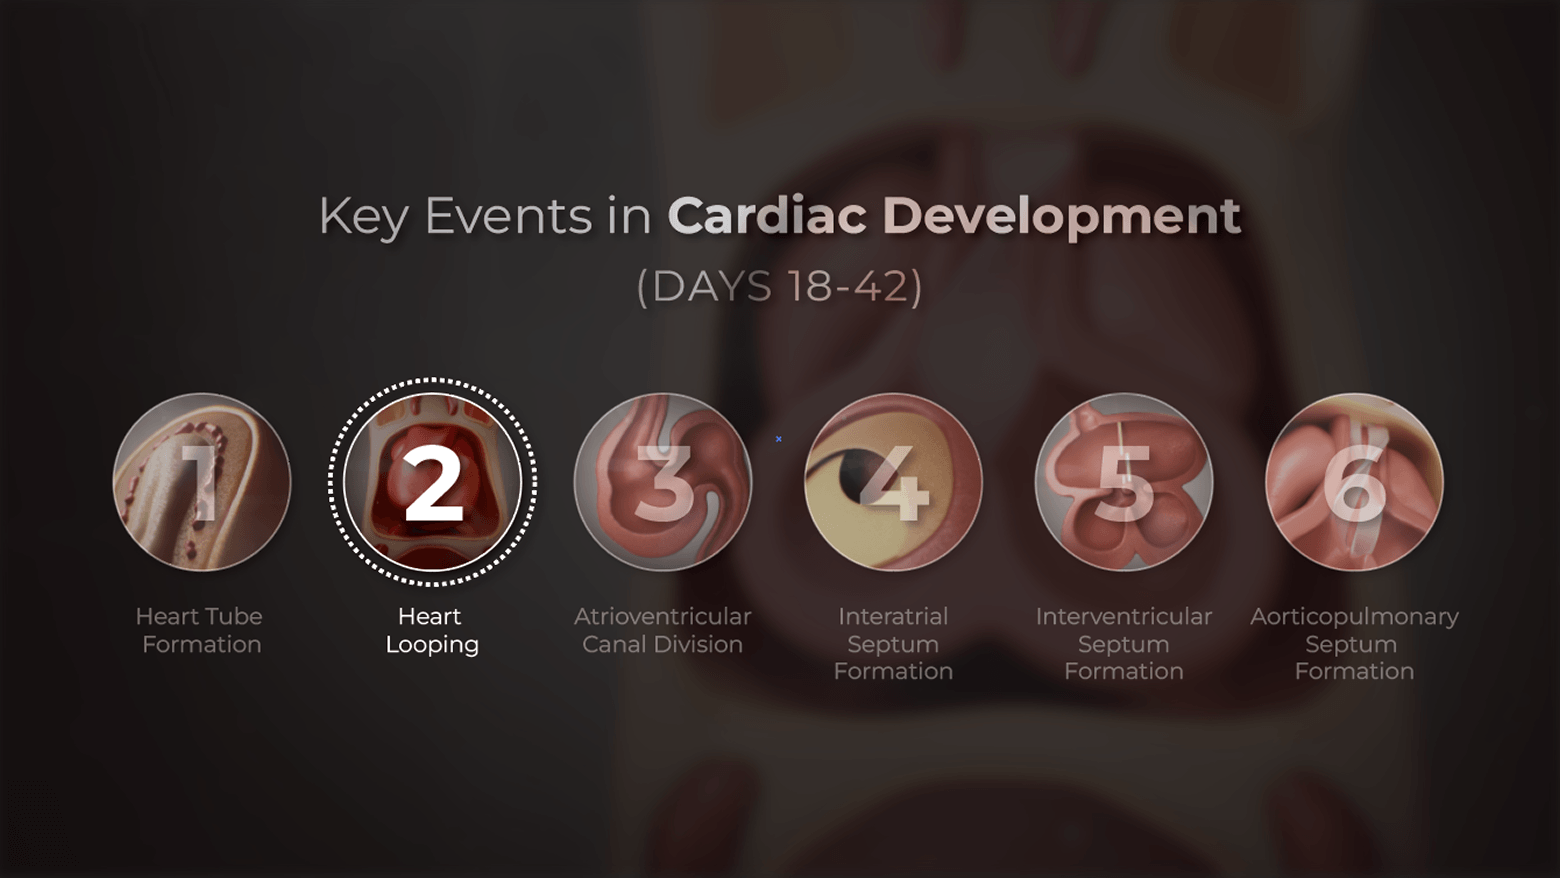
During this stage, I decided to separate the video into six different steps in early cardiac development: heart tube formation, heart looping, atrioventricular canal division, interatrial septum formation, interventricular septum formation, and aorticopulmonary septum formation. I separated the steps not just based on when they occur (as several of these events overlap in time), but also based on structural relevance and the logical flow of processes, ensuring that later steps build upon previous steps. It was also at this stage that we decided to change the term “steps” to “events,” to prevent any misunderstanding of the simultaneous nature of many of the developmental processes.
The pre-production stage also involved the creation of a storyboard and animatic. While creating the storyboard, the committee and I decided to keep camera movements and backgrounds to a minimum to reduce cognitive load and to keep focus on the developmental processes. I also decided to keep most of the views at a clean transverse, ventral, or lateral section to minimize orientational confusion by the viewer.
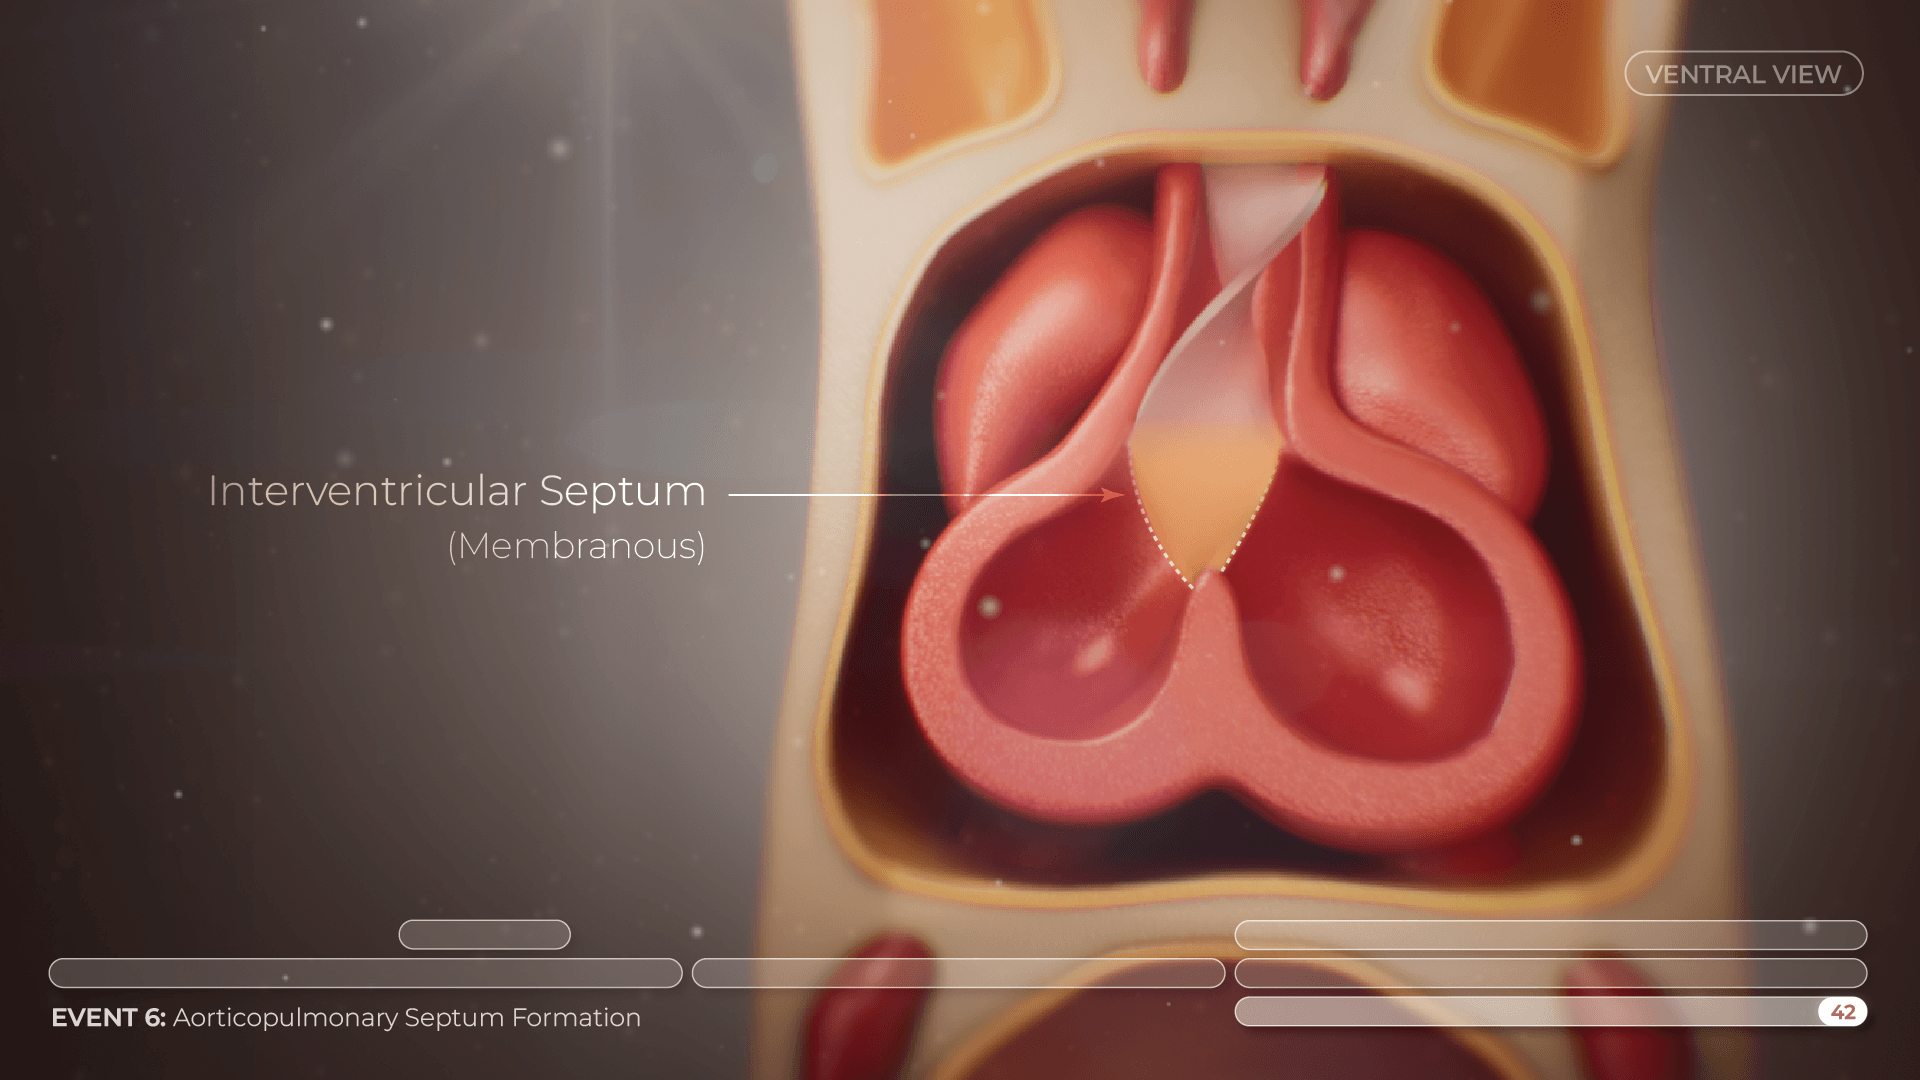
Working off of the six events I settled on in the script-writing stage, I designed a timeline to go at the bottom of the video to help students position themselves in time while viewing the animation. I wanted it to be easily readable in the video, and at a size/format that was cohesive with the main visual content, while still keeping attention on the developmental process. I layered several events above and below each other in order to visually represent the simultaneous nature of the events. For added clarity, I added the exact day of development for quick and easy reference by viewers.
My committee and I went through countless iterations of the animatic to ensure accuracy and clarity of concepts, which was especially important for such an academically and educationally oriented animation.
To animate the process of heart looping, I used a system of rigs and sculpted blendshapes to achieve the effect of a tube folding in on itself. I started off rigging a simple tube and animating its movement to resemble that of a heart looping, which served as the base rig. I then sculpted the primordial heart on day 23 (with well-defined constrictions and dilations) and adjusted the rig slightly to fit with the new model. At key stages, I set blend shapes using sculpting tools to modify the heart tube. This resulted in a heart looping movement that was smooth, natural, and reflected the tranformational complexity of the process.
For the structures surrounding the heart tube, such as the amnion and yolk sac, I used a system of booleans to make it seem like the membranes were embedded into the cut coronal section.
Early during the production stage, I created a quick proxy animation of the endocardial heart tubes merging, which involves the formation of “bridges” between the tubes. However, when I showed the playblast to my content supervisor, we encountered a slight roadblock. Both my content advisor and I had only ever seen this process depicted in static, 2D images that fail to show how the bridges form, so this step required a bit more research. Later, we learned that at this stage, the borders of the tubes are not yet as defined, and appear to merge in a motion akin to the blobs inside a lava lamp.
To achieve the blobby, semi-liquid effect of the endocardial heart tubes merging to form the primordial heart, I used a combination of blend shapes and booleans in Bifrost. Initially, I experimented with Maya’s nParticles and dynamics to push apart the blobs in a fluid motion. However, the procedural nature of particle systems proved too unpredictable for the purposes of this scene, which required a “blobby” yet controlled movement. Instead, I turned to blend shapes, which I modified and keyframed individually to control the motion of the blobs. I then familiarized myself with Bifrost, Maya’s node-based VFX tool, using its mesh-to-volume and volume-to-mesh nodes to create the amorphous heart tube effect.
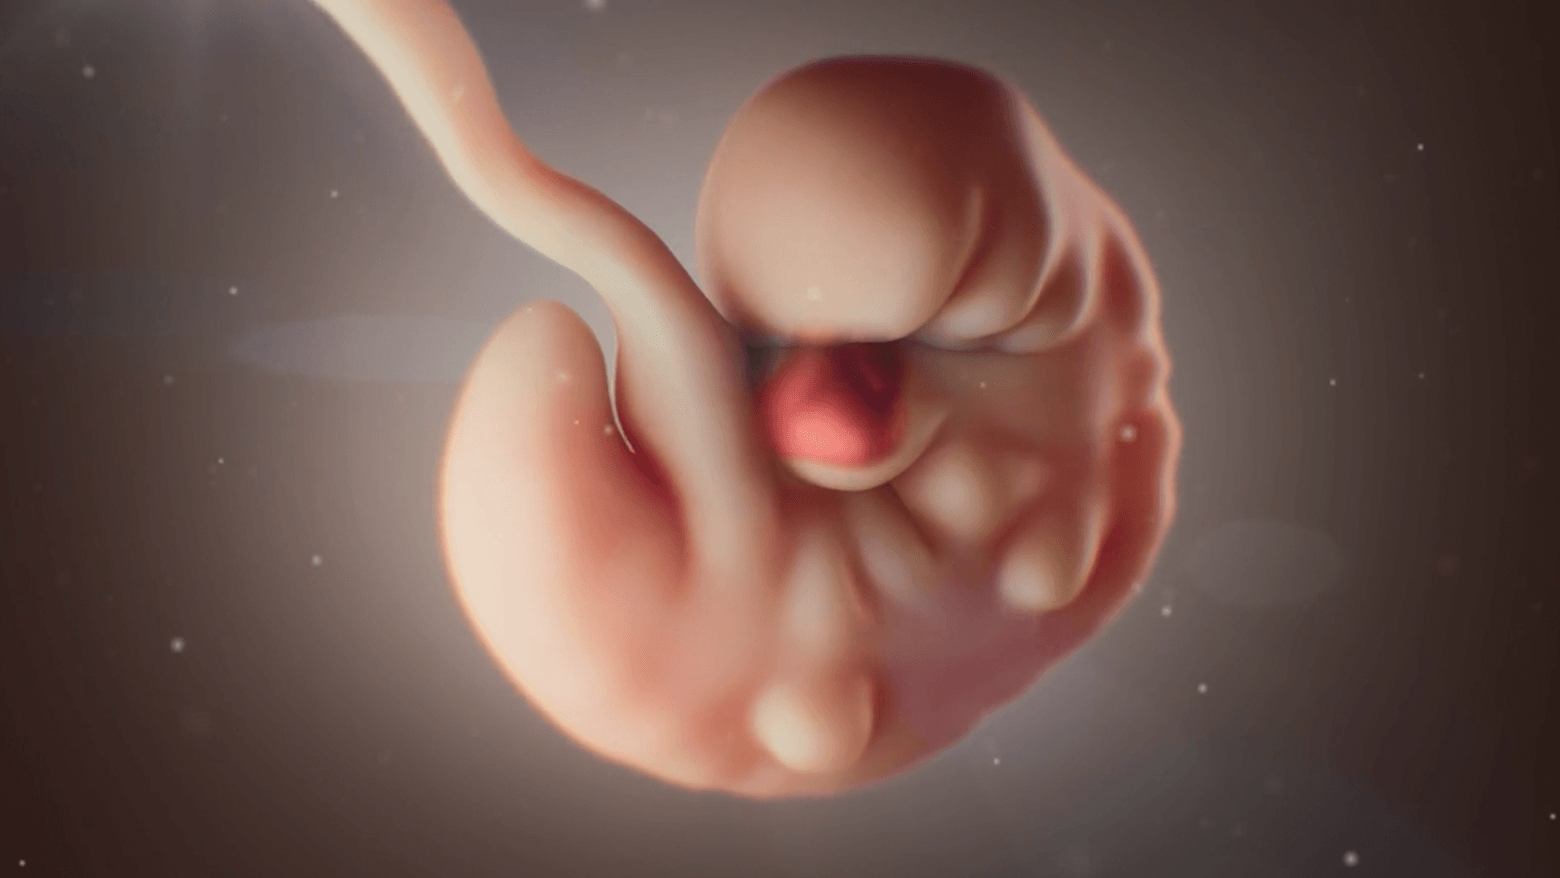
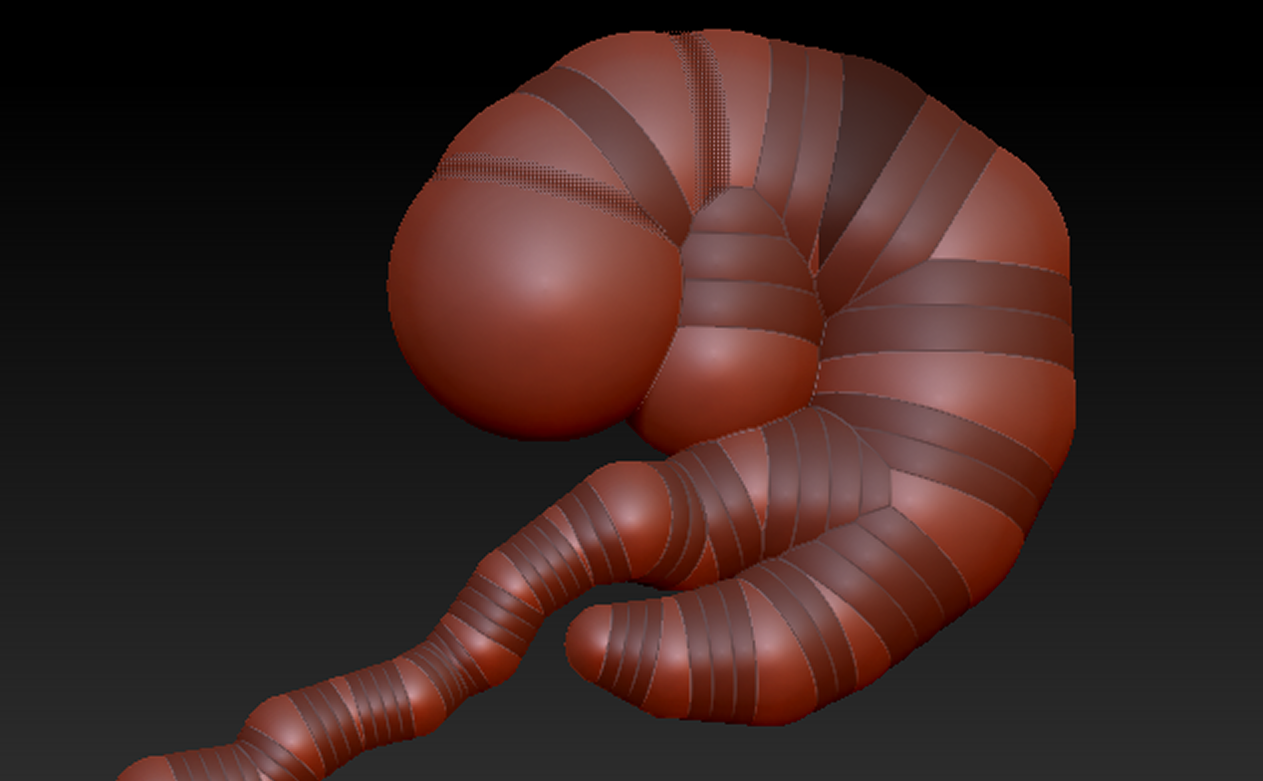
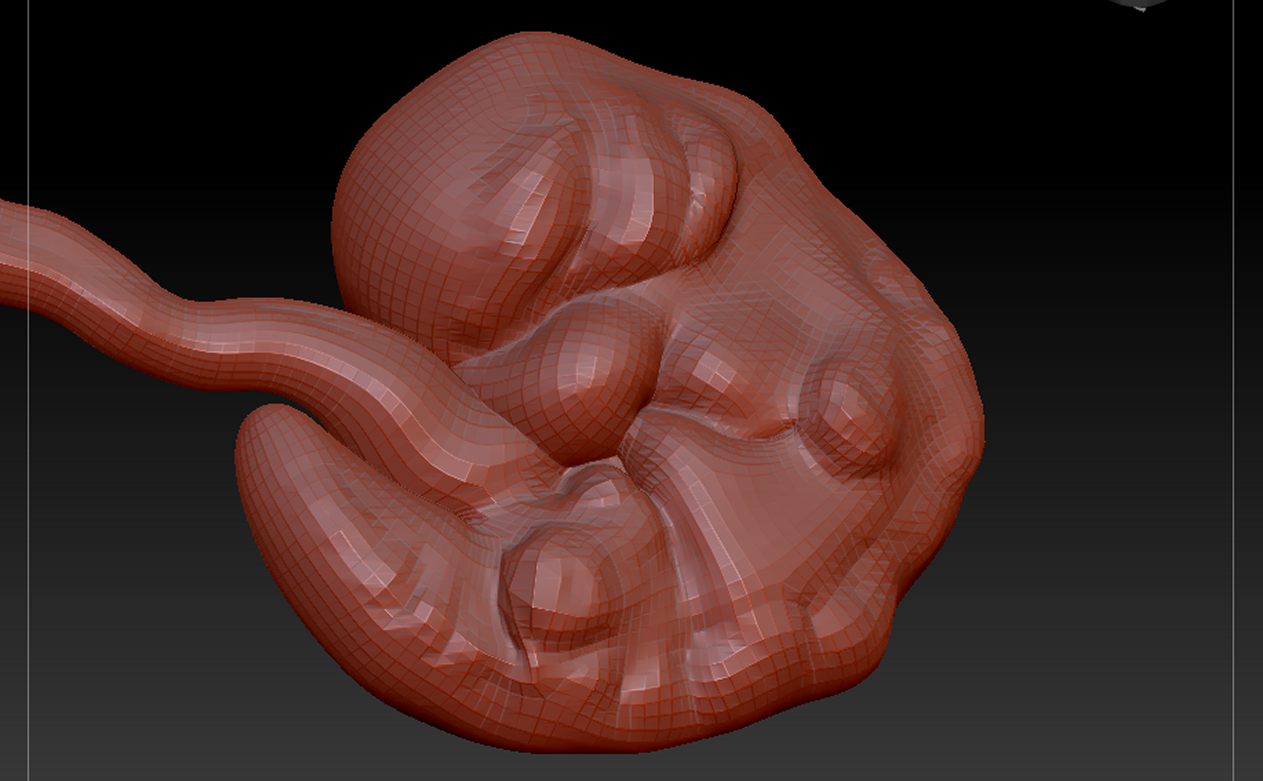
Up to this point, all the models used in the animation were created in Maya, as this allowed for a quicker workflow and easier integration into the animation tools. However, I decided that the mighty embryo, with its natural forms and organic curves, would benefit greatly from ZBrush’s superior sculpting tools.
In ZBrush, I started off with ZSpheres to quickly create a base skeleton. I enabled adaptive skin and started sculpting on the model, referencing different scientific sources. Once I was happy with the model, I brought it into Maya to animate and add materials and lighting.
In terms of visual look and feel of the animation, I wanted to keep the style minimalistic to really highlight the developmental processes and keep attention on the scientific content; thus, I kept the background simple and the colour scheme relatively muted. At the same time, I wanted the animation to feel realistic and professional, with subtle depth of field, lens flares and soft particles to enhance the visual experience.